ZeroCalc
Published 01 May 2026
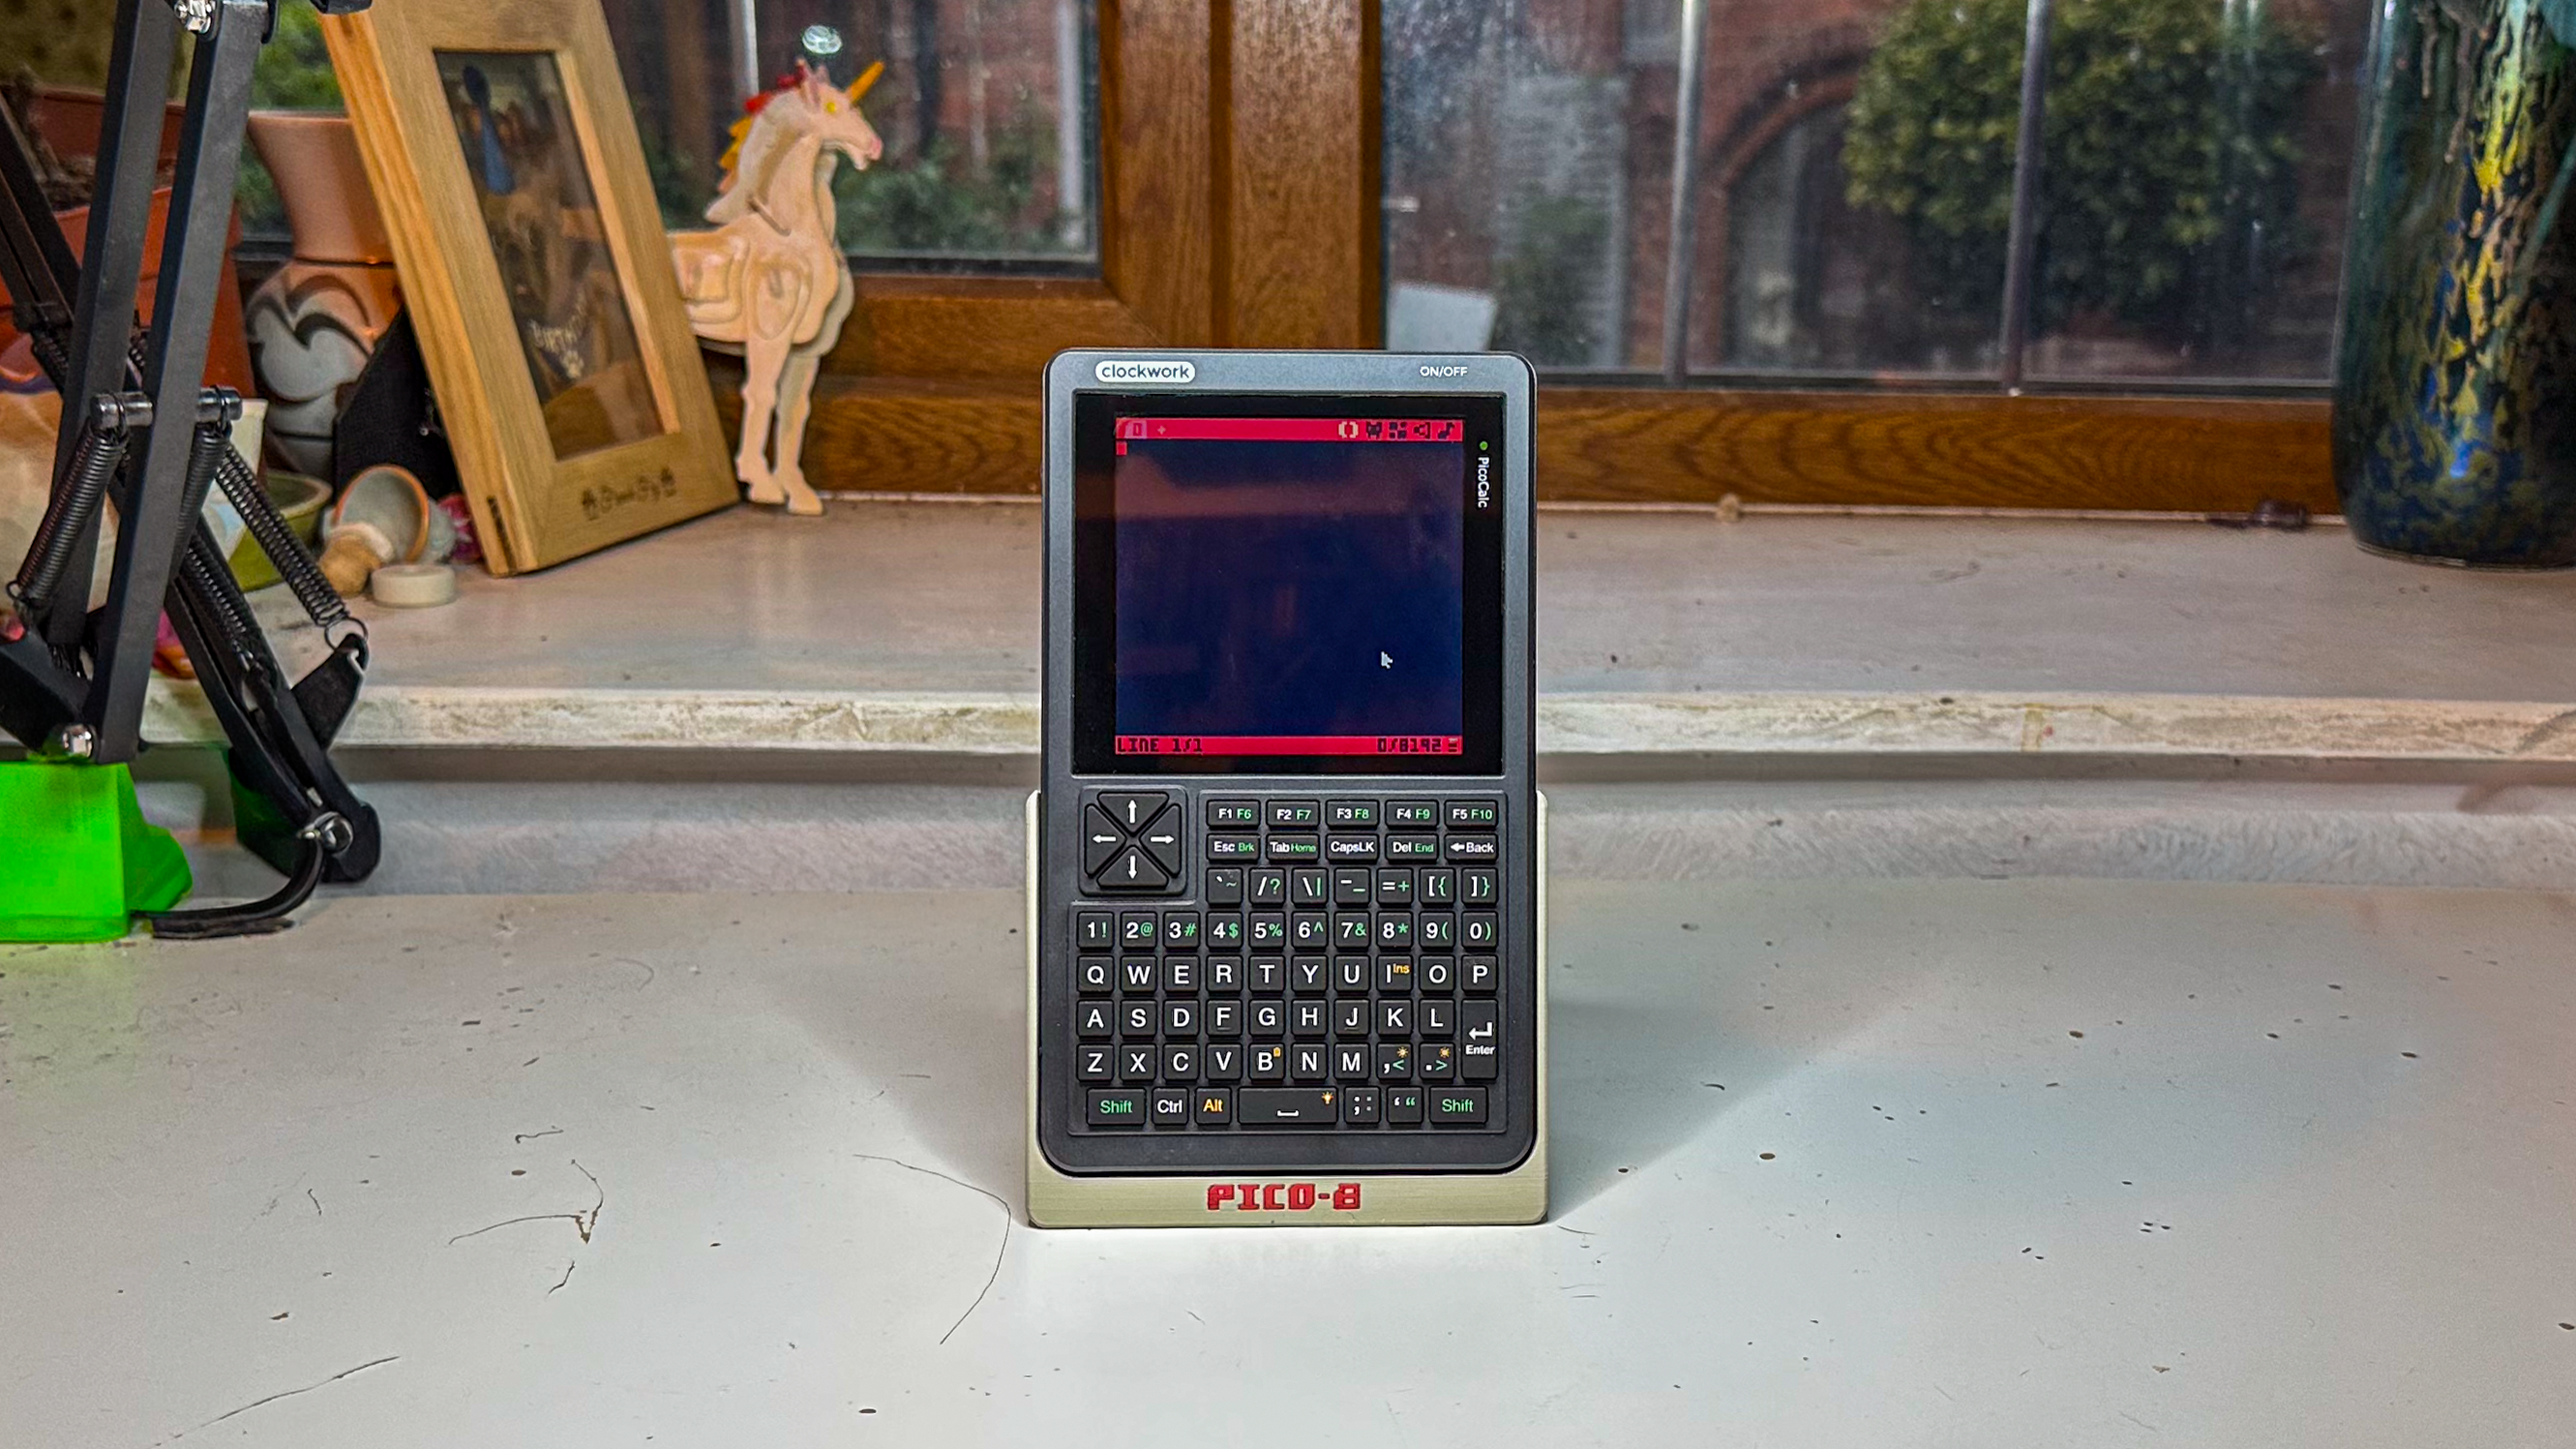
How to go from delivery to a ZeroCalc 2W in 2026: My happy standalone little Pico8 dev machine.
What to expect
Here's a quick demo of Pico8 running on my Zerocalc 2W.
Ignore the 3d printer sounds, I'm printing a handle for the thing.
Why write this?
There's a bunch of awesome people over at forum.clockworkpi.com who have worked out how to make this work. But, the forum post is a bit difficult to navigate, and find out what you absolutely need, vs. what's just cool tinkering.
For my purposes; the PicoCalc hits a great form factor and price point for a standalone Pico8 dev machine. I love the Pico8 platform and regularly tinker with small game ideas.
I've previously used a uconsole with a RPI CM5 for this purposes; but it's overkill.
The Pi Pico that the PicoCalc uses by default lacks power to run Pico8 well, like I'd like it to.
My aim was to get the PicoCalc to run on a Zero 2W with pico8 and git. So that I can tinker with ideas, and hand them off to a repo and pick up elsewhere.
I don't need external USB/gpio/etc.
Just pico8, a display, a keyboard, audio, and internet.
If your needs are different, don't worry! I've left links to all the resources and hints about where to look for different setups throughout this guide. The Zero2W is fairly capable compute with a lot of versatility, you could use it for all sorts.
What you need
- A PicoCalc kit - I got mine from AliExpress.
- A Raspberry Pi Zero 2WH - The WH stands for Wifi + Headers (presoldered headers). You can also just get a 2W and solder the headers yourself.
- A reasonably speedy SD card with a bit of space (32gb+) - I use Sandisk Ultras because I trust them, I wanted about 128GB so this is what I went with.
- The adapter board - I purchased from PCBWay, they sold me 5 for approx $1us each. Shipped to the UK in 3-4 days for a reasonable cost ($20us).
- 2x20 pin headers with 2.54mm pitch - I bought mine from amazon in a set, I only used 2 of the 20pin headers. My Pi Zero came with headers presoldered. If you get the Pi zero without headers you'll need some more for that too.
- 2x 18650 batteries from a good source - I bought mine (flat top) from NuBattery in the UK. There's forum posts on battery options if you're stuck.
- A trusty soldering iron and some solder.
Optional: soldering helpers
I also used 2 female 8 pin headers (2.54mm pitch) to help with soldering. Mine came from this kit some time ago.
tldr; if you plug the male headers into the female and sit the adapter board on top it's super easy to solder them straight.
Optional: Case
There are other optional features like external usb, and a custom case. Most of the details of those can be found on Michael's Printables project.
Shameless Plug: Handle, stand, grip for the ZeroCalc
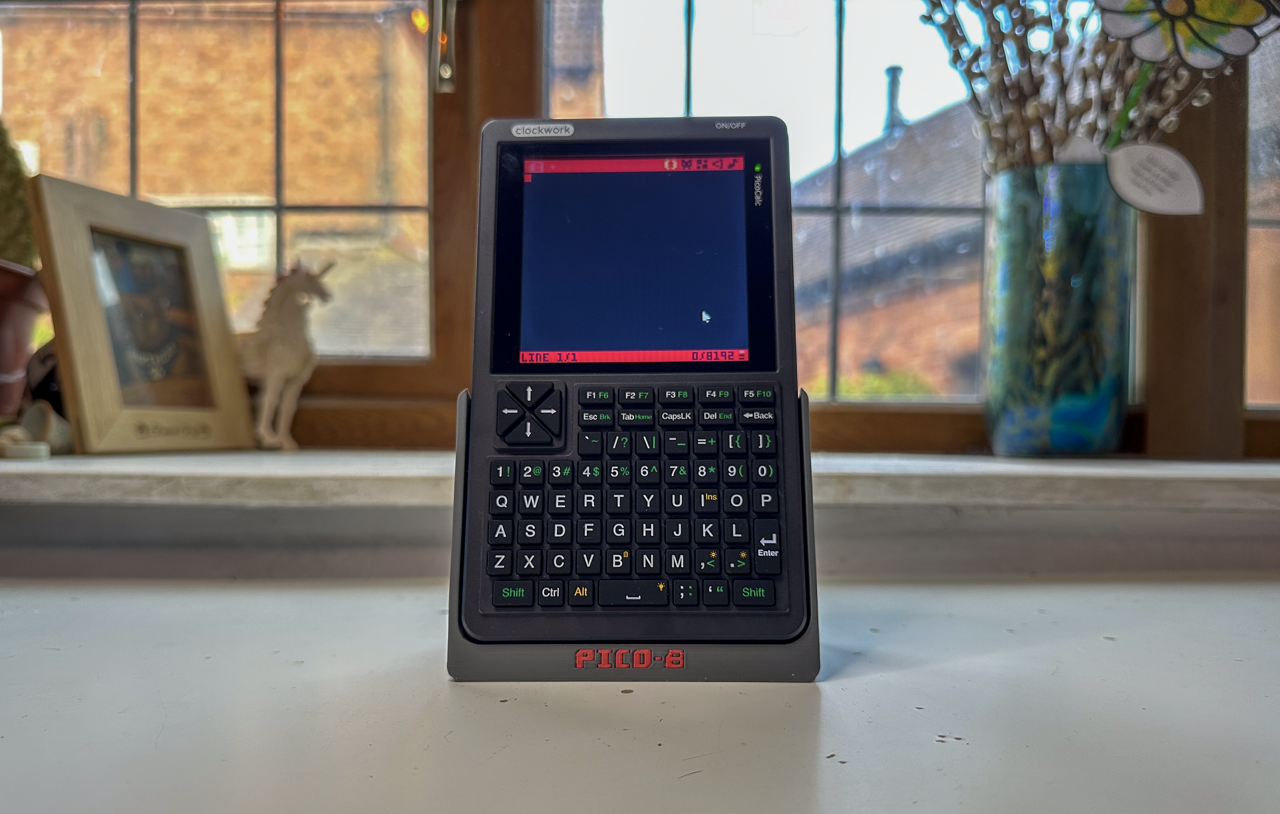
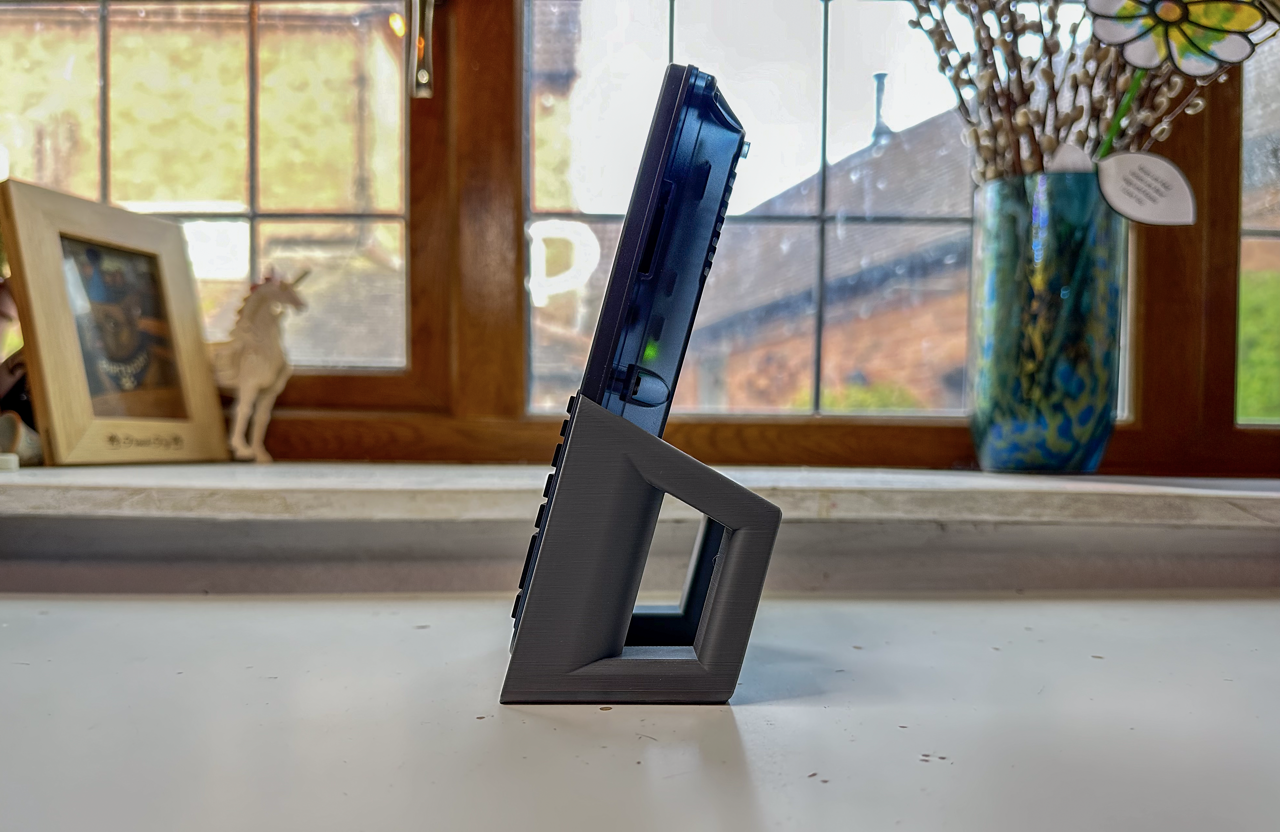
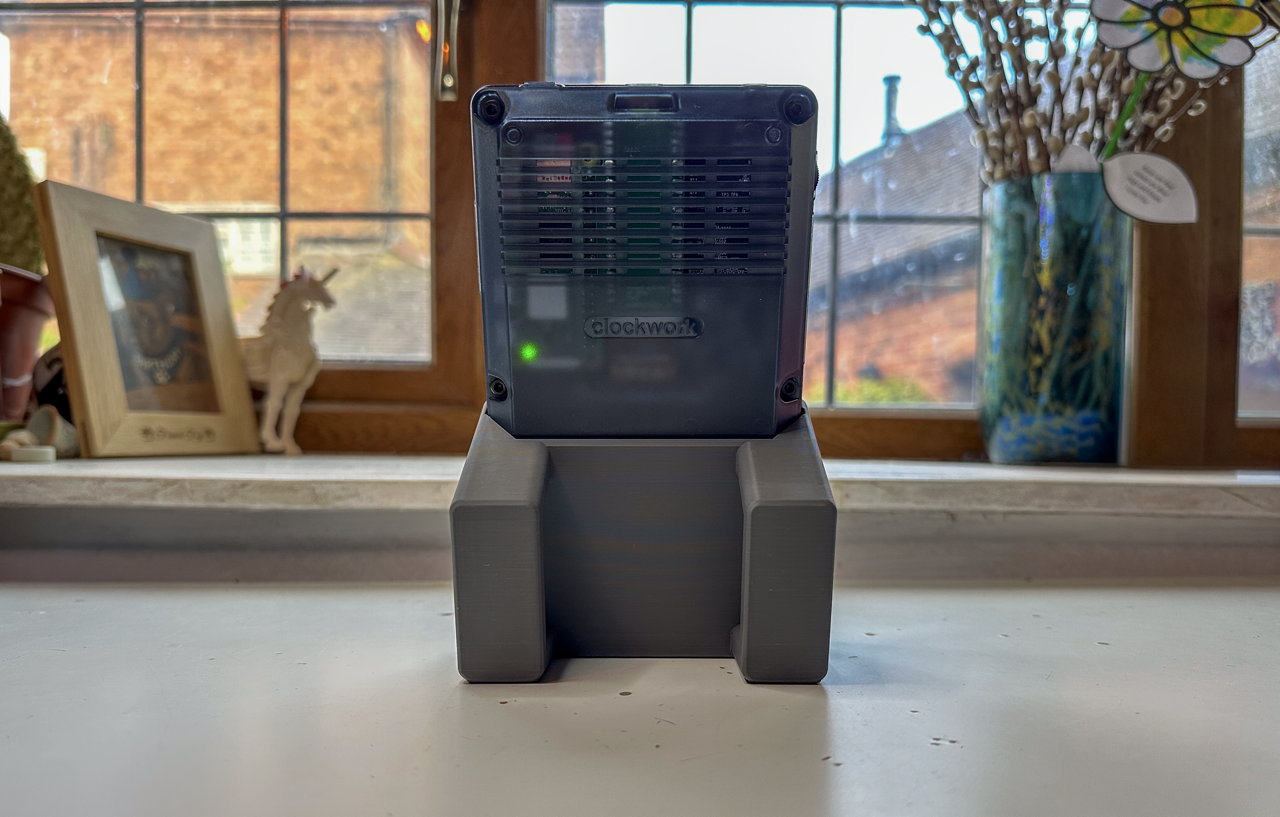
If you like the grip in the cover image, you can find it on at Makerworld: PicoCalc Grip Stand Handle.
If you like it, check out the other things I make!
Heads up; there's a version you can print without the pico-8 logo on the front. It's plate 2 in the print profile, and the .step files are included in the 3D model files if you want to modify it yourself.
Pictured and link is version 2 of the handle, that I made more comfy!
Flashing the SD Card
Source: github.com/nibheis/picocalc_trixie: Step 1
- Download and install Raspberry Pi Imager
- Plug in your SD card
- Open Raspberry Pi Imager
In Imager:
- On the select device page choose "Raspberry Pi Zero 2 W" and hit next
- On the Choose OS page, choose "Raspberry Pi OS (other)" and hit next
- On the next page, choose "Raspberry Pi OS Lite (64 Bit)" (A port of Debian Trixie) and hit next
- On the storage page, select your SD card and hit next
- On the Customization page, set your hostname. I used "zerocalc" for mine, but you can choose whatever you like.
- On the Localisation page, set your locale. But! Set your keyboard layout to "us".
- On the User page, set your username, and password.
- On the wifi page, set up your wifi credentials; so we can ssh for the rest of the install.
- On the remote access page, enable SSH and set your authentication method as you wish.
- Hit "Write" and wait for it to finish.
- Unplug the SD card and plug it into your Pi Zero 2W.
3 Building the hardware
Others have covered this topic better than I could. You can watch Michael's video for a great walkthrough, and the summary below is the steps I took.
Video
Michael posted a great build video that goes over the soldering, and physical build.
Text Summary
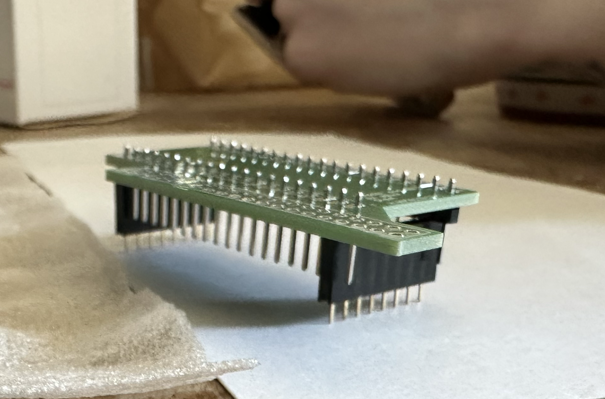
- Solder the 20pin headers to the adapter board
- Solder the Pi to the adapter board as well
- Plug in your micro sd to the Pi Zero 2w (Flash instructions below)
- Plug the adapter board into your PicoCalc
- Add batteries
- Screw everything together

Note: in this image my SD card isn't plugged in, it should be plugged into the Pi Zero 2W.
Software setup
Source: github.com/nibheis/picocalc_trixie
Power on.
Once you have flashed the SD card and completed the hardware build. Power it on. You'll find it may reboot a couple times the first time you hit it; don't worry, it'll eventually come up stable. I think it's doing SD expansiona nd initial set up at that time.
Find your Pi on the network
The easiest wat to find your zerocalc on the network is to use ping with the hostname you set in the imager. For example, if you set your hostname to zerocalc you can ping it with:
ping zerocalc.local
# or
ping zerocalc
SSH into the Pi
Use the same hostname or ip to ssh in:
ssh zerocalc
# You can prepend your username to set the correct user to log in to as well.
ssh james@zerocalc
Update installed software
Out the gate you want to run apt update.
sudo apt update && sudo apt upgrade -y
Install git
sudo apt install git -y
Clone the picocalc_trixie repo
git clone https://github.com/nibheis/picocalc_trixie.git
It should be cloned into ~/picocalc_trixie(/home/your-username/picocalc_trixie)
In the picocalc_trixie directory, copy the display firmware
cd picocalc_trixie
sudo cp display/picomipi.bin /lib/firmware/
Set up the display
Activate the SPI Interface for the display
sudo nano /boot/firmware/config.txt
Add the following lines to the end of the file:
# Enable SPI for the display
dtparam=spi=on

# Driver configuration for the display
dtoverlay=mipi-dbi-spi,spi0-0,speed=70000000
dtparam=compatible=picomipi\0panel-mipi-dbi-spi
dtparam=width=320,height=320,width-mm=43,height-mm=43
dtparam=reset-gpio=25,dc-gpio=24
dtparam=backlight-gpio=18
dtparam=clock-frequency=50
Configure the framebuffer configuration in the kernel command line
sudo nano /boot/firmware/cmdline.txt
Add the following to the end of the line:
fbcon=map:1 fbcon=font:MINI4x6
Reboot
sudo reboot
When you reboot this time, your display should work, but your keyboard won't be set up yet.
Set up the keyboard
Navigate to the keyboard firmware directory
- SSH back into the Pi
cdto thepicocalc_trixiedirectorycdinto thekeyboarddirectory
If you need the mouse, edit the firmware
If you need the mouse emulation that comes with pico calc:
press shift to turn the arrow keys into the mouse, and the square brackets into lmb and rmb
You need to update the picocalc_kbd.c file to uncomment the disabled mouse emulation.
sudo nano picocalc_kbd/picocalc_kbd.c
- Remove the
//|in front of the lines commented out. - They are the only lines commented out with this pattern
//|so it should be easy to find. - At the time of writing it's lines 223-311
- Delete the
//|from the start of each line in that block, and save the file.
Build and install the keyboard firmware
# In the picocalc_trixie/keyboard directory
chmod +x setup_keyboard.sh
sudo ./setup_keyboard.sh
Confirm the keyboard setup worked
sudo cat /boot/firmware/config.txt
The start of the file should now have the following lines:
dtparam=i2c_arm=on
dtoverlay=picocalc_kbd
Set up Audio
sudo nano /boot/firmware/config.txt
Add the following lines to the end of the file:
dtparam=audio=on
dtoverlay=audremap,pins_12_13
Note, you may already see the dtparam=audio=on line in your config.txt, if so just add the dtoverlay=audremap,pins_12_13 line.
Reboot
sudo reboot
Once you've rebooted you should have most things working! The rest is optional but might be handy.
Optional: Configure your terminal font for a better display experience
Source: a comment by Lachlan_Beveridge
sudo dpkg-reconfigure console-setup
When you run this command, you'll be prompted with a series of questions. Here's how to answer them for the best experience on the PicoCalc display:
encoding: UTF-8
character set: Guess optimal
font: Terminus
size: 6×12
Optional: Fix keyboard layout
If, like me, you flashed with the wrong keyboard layout, you can fix it with:
sudo nano /etc/default/keyboard
- Find the line that starts with
XKBLAYOUT= - Change the value to
us(or your desired layout) - Save the file and exit
- Reboot the Pi
Optional: Copy useful scripts to your path
Source: github.com/nibheis/picocalc_trixie
The picocalc_trixie repo has some useful scripts for running Pico8 and other utilities. You can copy them to a directory in your PATH for easier access.
# Go to the picocalc_trixie directory
cd ~/picocalc_trixie
# Copy the scripts to /usr/local/bin
sudo cp -r user_bin/* /usr/local/bin/
# one is called "shudown" which will lead to an infinite loop. rename it.
mv /usr/local/bin/shutdown /usr/local/bin/shutdown-pi

# alternatively, modify the script and have it point to /usr/sbin/shutdown
sudo nano /usr/local/bin/shutdown
# Change 'shutdown' to '/usr/sbin/shutdown' and save the file.
Optional: Power off shutdown script
Fix problems with the original commands
- Enable i2c in
raspi-config
# Run raspi-config
sudo raspi-config
# Navigate to "Interface Options"
# Select "I2C" and enable it
# Finish and reboot
- Install
i2c-tools
sudo apt install i2c-tools -y
Follow the original guide here: Picocalc Trixie Guide
EZ Mode
- Enable i2c in
raspi-config
# Run raspi-config
sudo raspi-config
# Navigate to "Interface Options"
# Select "I2C" and enable it
# Finish and reboot
- Clone my fork of the repo with a full install script
git clone git@github.com:jamescodesthings/picocalc_trixie.git
- Run the install script for the shutdown utility
cd picocalc_trixie
cd poweroff
./install
note: if you run it from one of the parent directories the path to the service and script file won't be right.
Resources
Here's the main resources I used when working this out.
- The forum post
- The hardware build video (from michael_mayer)
- The adapter board PCBWay project
- The Trixie 64bit install instructions
- A comment in the forum post about making the default font easier to work with
Fin
That's it for this one! I hope it's useful to anyone looking to do something similar. If you have any questions, or suggestions for improvements, feel free to reach out.
Many thanks to everyone mentioned in the resources, and anyone else who's worked on this in the forums. It's a great community and I'm grateful for all the work that's gone into making this possible.
If anyone involved in the project wants to add anything, or correct any mistakes, just let me know!